使用 Docker 快速配置深度学习(Tensorflow)环境

用 docker 配置 tensorflow 环境(Tensorflow + Python3 + Jupyter Notebook + tflearn),在 dash00/tensorflow-python3-jupyter 基础上,添加 tflearn package,创建新的 docker image shuang0420/tensorflow-tflearn-python3-jupyter

Use Other’s Image

我们在 dash00/tensorflow-python3-jupyter 基础上创建自己的新镜像。

Download Image

首先获取镜像

1
$ docker pull dash00/tensorflow-python3-jupyter

原镜像 dash00/tensorflow-python3-jupyter 包含了

1
2
3
4
5
6
7
8
9
- Jupyter Notebook
- TensorFlow
- scikit-learn
- pandas
- matplotlib
- numpy
- scipy
- Pillow
- Python 2 and 3

Start Container

Use basic container

如果用下面的启动方式,当结束 container 的时候,jupyter notebook 里的内容也会随之消失。

1
$ docker run -it -p 8888:8888 dash00/tensorflow-python3-jupyter

Use persistent folder

这种启动方式将 notebook 内容存到了本地,本质上是一个 mapping。/$(pwd)/notebooks 就是本机 notebook 目录。

1
$ docker run -it -p 8888:8888 -v /$(pwd)/notebooks:/notebooks dash00/tensorflow-python3-jupyter

Use Jupyter Notebook and Tensorboard in the same time

同时运行 jupyter notebook 和 tensorboard

1
2
3
$ docker run --name notebooks -d -v /$(pwd)/notebooks:/notebooks -v /$(pwd)/logs:/logs -p 8888:8888 dash00/tensorflow-python3-jupyter /run_jupyter.sh --allow-root --NotebookApp.token=''
$
$ docker run --name board -d -v /$(pwd)/logs:/logs -p 6006:6006 dash00/tensorflow-python3-jupyter tensorboard --logdir /logs

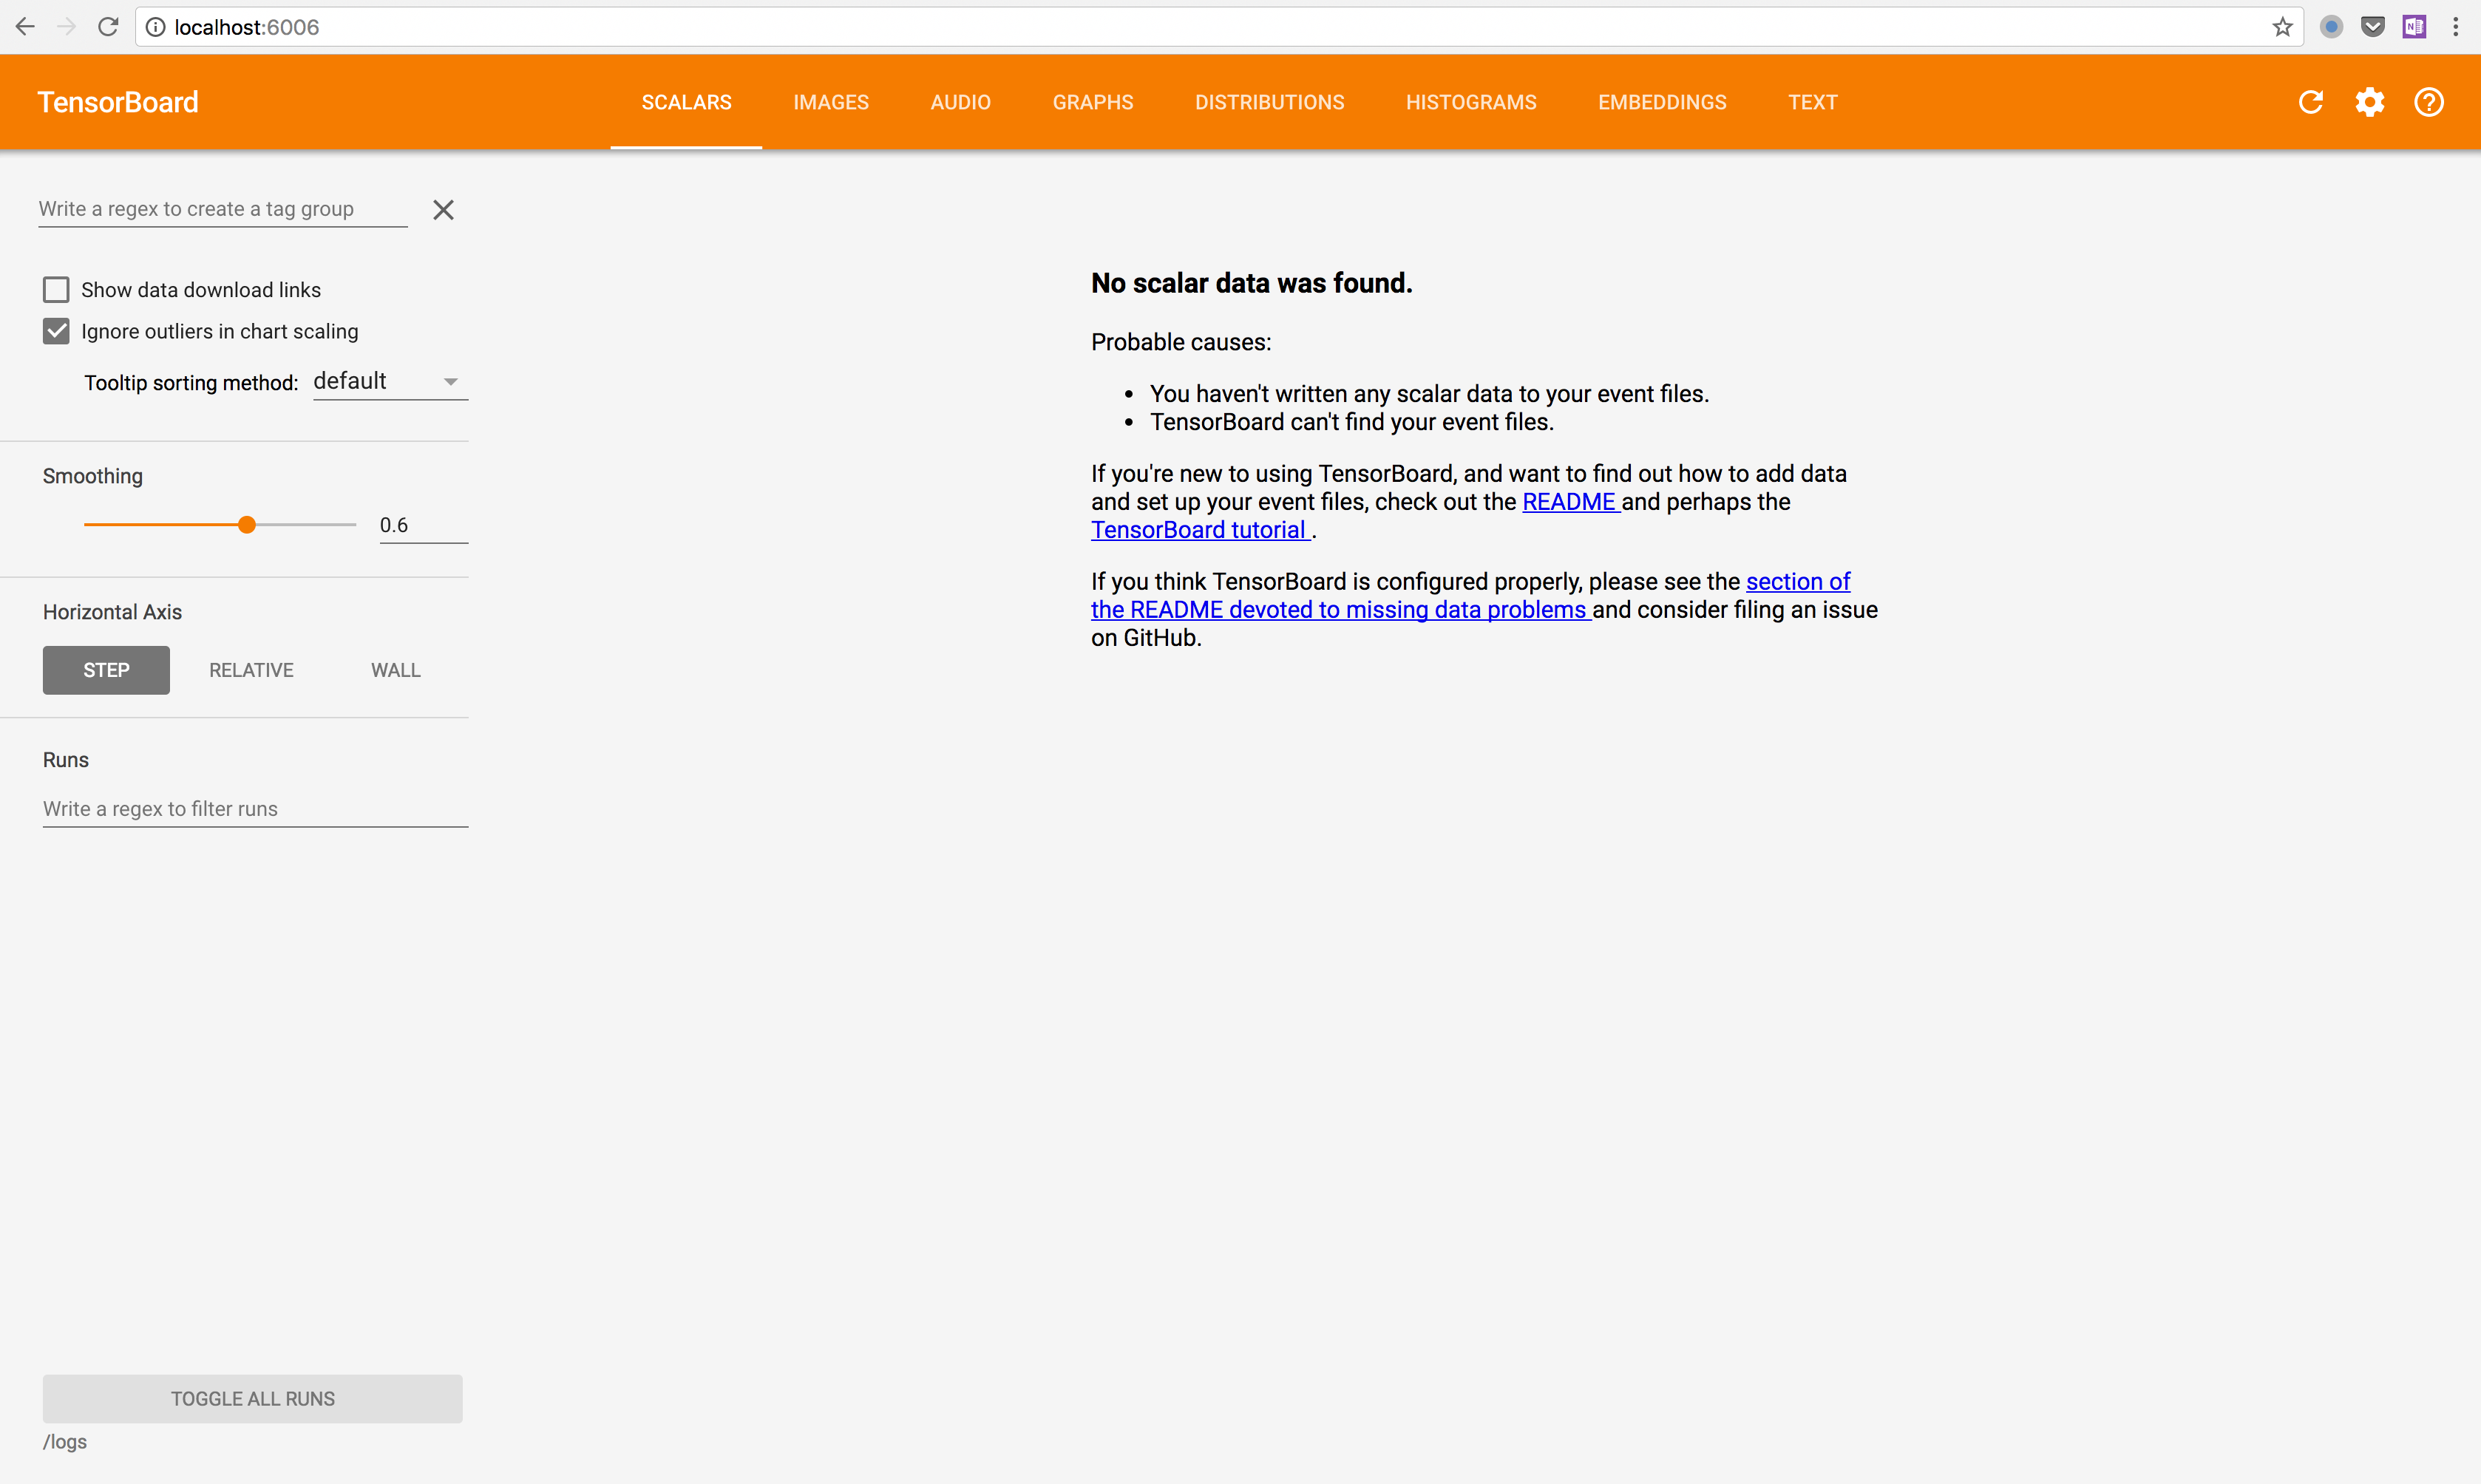
打开浏览器输入 http://<CONTAINER_IP>:8888/ 打开 jupyter notebook,输入 http://<CONTAINER_IP>:6006/ 打开 tensorboard

Modify and Create New Image

Modify Old Image

进入 docker image,注意跟在 root@ 后面的 97748739b45d 就是新的 docker image id。

1
2
$ docker run -it dash00/tensorflow-python3-jupyter /bin/bash
root@97748739b45d:/notebooks#

先看一下是什么系统

1
2
3
4
5
6
root@97748739b45d:/notebooks# lsb_release -a
No LSB modules are available.
Distributor ID: Ubuntu
Description: Ubuntu 16.04.2 LTS
Release: 16.04
Codename: xenial

dash00/tensorflow-python3-jupyter 提到装了 python2 和 python3,tf 是装在 python3 下,所以 tflearn 也要装在 python3 下。发现默认 python 进入的是 python2

1
2
3
4
5
6
7
8
9
10
# python
Python 2.7.12 (default, Nov 19 2016, 06:48:10)
[GCC 5.4.0 20160609] on linux2
Type "help", "copyright", "credits" or "license" for more information.
>>> exit()
# python3
Python 3.5.2 (default, Nov 17 2016, 17:05:23)
[GCC 5.4.0 20160609] on linux
Type "help", "copyright", "credits" or "license" for more information.
>>> exit()

pip install 要在 python3 下,为了使用稳定版本的 tflearn,需要用到 git,尝试下以下命令

1
2
3
4
5
6
7
# python3 -m pip install git+https://github.com/tflearn/tflearn.git
Collecting git+https://github.com/tflearn/tflearn.git
Cloning https://github.com/tflearn/tflearn.git to /tmp/pip-u0c73_t1-build
Error [Errno 2] No such file or directory: 'git' while executing command git clone -q https://github.com/tflearn/tflearn.git /tmp/pip-u0c73_t1-build
Cannot find command 'git'
You are using pip version 8.1.1, however version 9.0.1 is available.
You should consider upgrading via the 'pip install --upgrade pip' command.

发现没有装 git,就先装一下喽

1
2
# apt-get update
# apt-get install git

再次 pip 下

1
2
3
4
5
6
7
8
# python3 -m pip install git+https://github.com/tflearn/tflearn.git
# python3
Python 3.5.2 (default, Nov 17 2016, 17:05:23)
[GCC 5.4.0 20160609] on linux
Type "help", "copyright", "credits" or "license" for more information.
>>> import tflearn
hdf5 is not supported on this machine (please install/reinstall h5py for optimal experience)
>>>

1
2
# python3 -m pip install --upgrade pip
# python3 -m pip install h5py

成功

1
2
3
4
5
6
# python3
Python 3.5.2 (default, Nov 17 2016, 17:05:23)
[GCC 5.4.0 20160609] on linux
Type "help", "copyright", "credits" or "license" for more information.
>>> import tflearn
>>>

Commit, test, and upload

然后退出当前容器,通过命令 docker commit 来提交容器副本

1
2
3
# exit
$ docker commit -m="install git and tflearn" -a="shuang0420" 97748739b45d shuang0420/tensorflow-tflearn-python3-jupyter:latest
sha256:97748739b45dc8ce994521fa11d7ad6349bc83762e76139086789e0416560710

各个参数说明:

  • -m:提交的描述信息
  • -a:指定镜像作者
  • e218edb10161:容器ID
  • runoob/ubuntu:v2:指定要创建的目标镜像名

使用 docker images 命令来查看我们的新镜像 shuang0420/tensorflow-tflearn-python3-jupyter

1
2
3
4
5
$ docker images
REPOSITORY TAG IMAGE ID CREATED SIZE
shuang0420/tensorflow-tflearn-python3-jupyter latest 97748739b45d 20 hours ago 1.28 GB
dash00/tensorflow-python3-jupyter latest 34eeac184315 4 weeks ago 1.17 GB
hello-world latest 48b5124b2768 5 months ago 1.84 kB

现在的镜像包含了

1
2
3
4
5
6
7
8
9
10
11
- git
- Jupyter Notebook
- TensorFlow
- tflearn
- scikit-learn
- pandas
- matplotlib
- numpy
- scipy
- Pillow
- Python 2 and 3

然后使用新镜像 shuang0420/tensorflow-tflearn-python3-jupyter 来启动一个容器

1
$ docker run --name notebooks -d -v /$(pwd)/notebooks:/notebooks -v /$(pwd)/logs:/logs -p 8888:8888 shuang0420/tensorflow-tflearn-python3-jupyter /run_jupyter.sh --allow-root --NotebookApp.token=''

如果出现下面的错误,说明之前已经启动了一个名为 notebooks 的 container,我们可以直接启动该容器,或者退出并删除原容器,新建一个。通过 docker ps -a 命令查看 container id 并删除该 container,再重新运行命令

1
2
3
4
5
6
7
8
9
10
11
12
docker: Error response from daemon: Conflict. The container name "/notebooks" is already in use by container 4602dc6d7f0b8b7756fa31d63a0ecb19bd37147c2af80710294a480587f9eb08. You have to remove (or rename) that container to be able to reuse that name..
See 'docker run --help'.
$ docker ps -a
CONTAINER ID IMAGE COMMAND CREATED STATUS PORTS NAMES
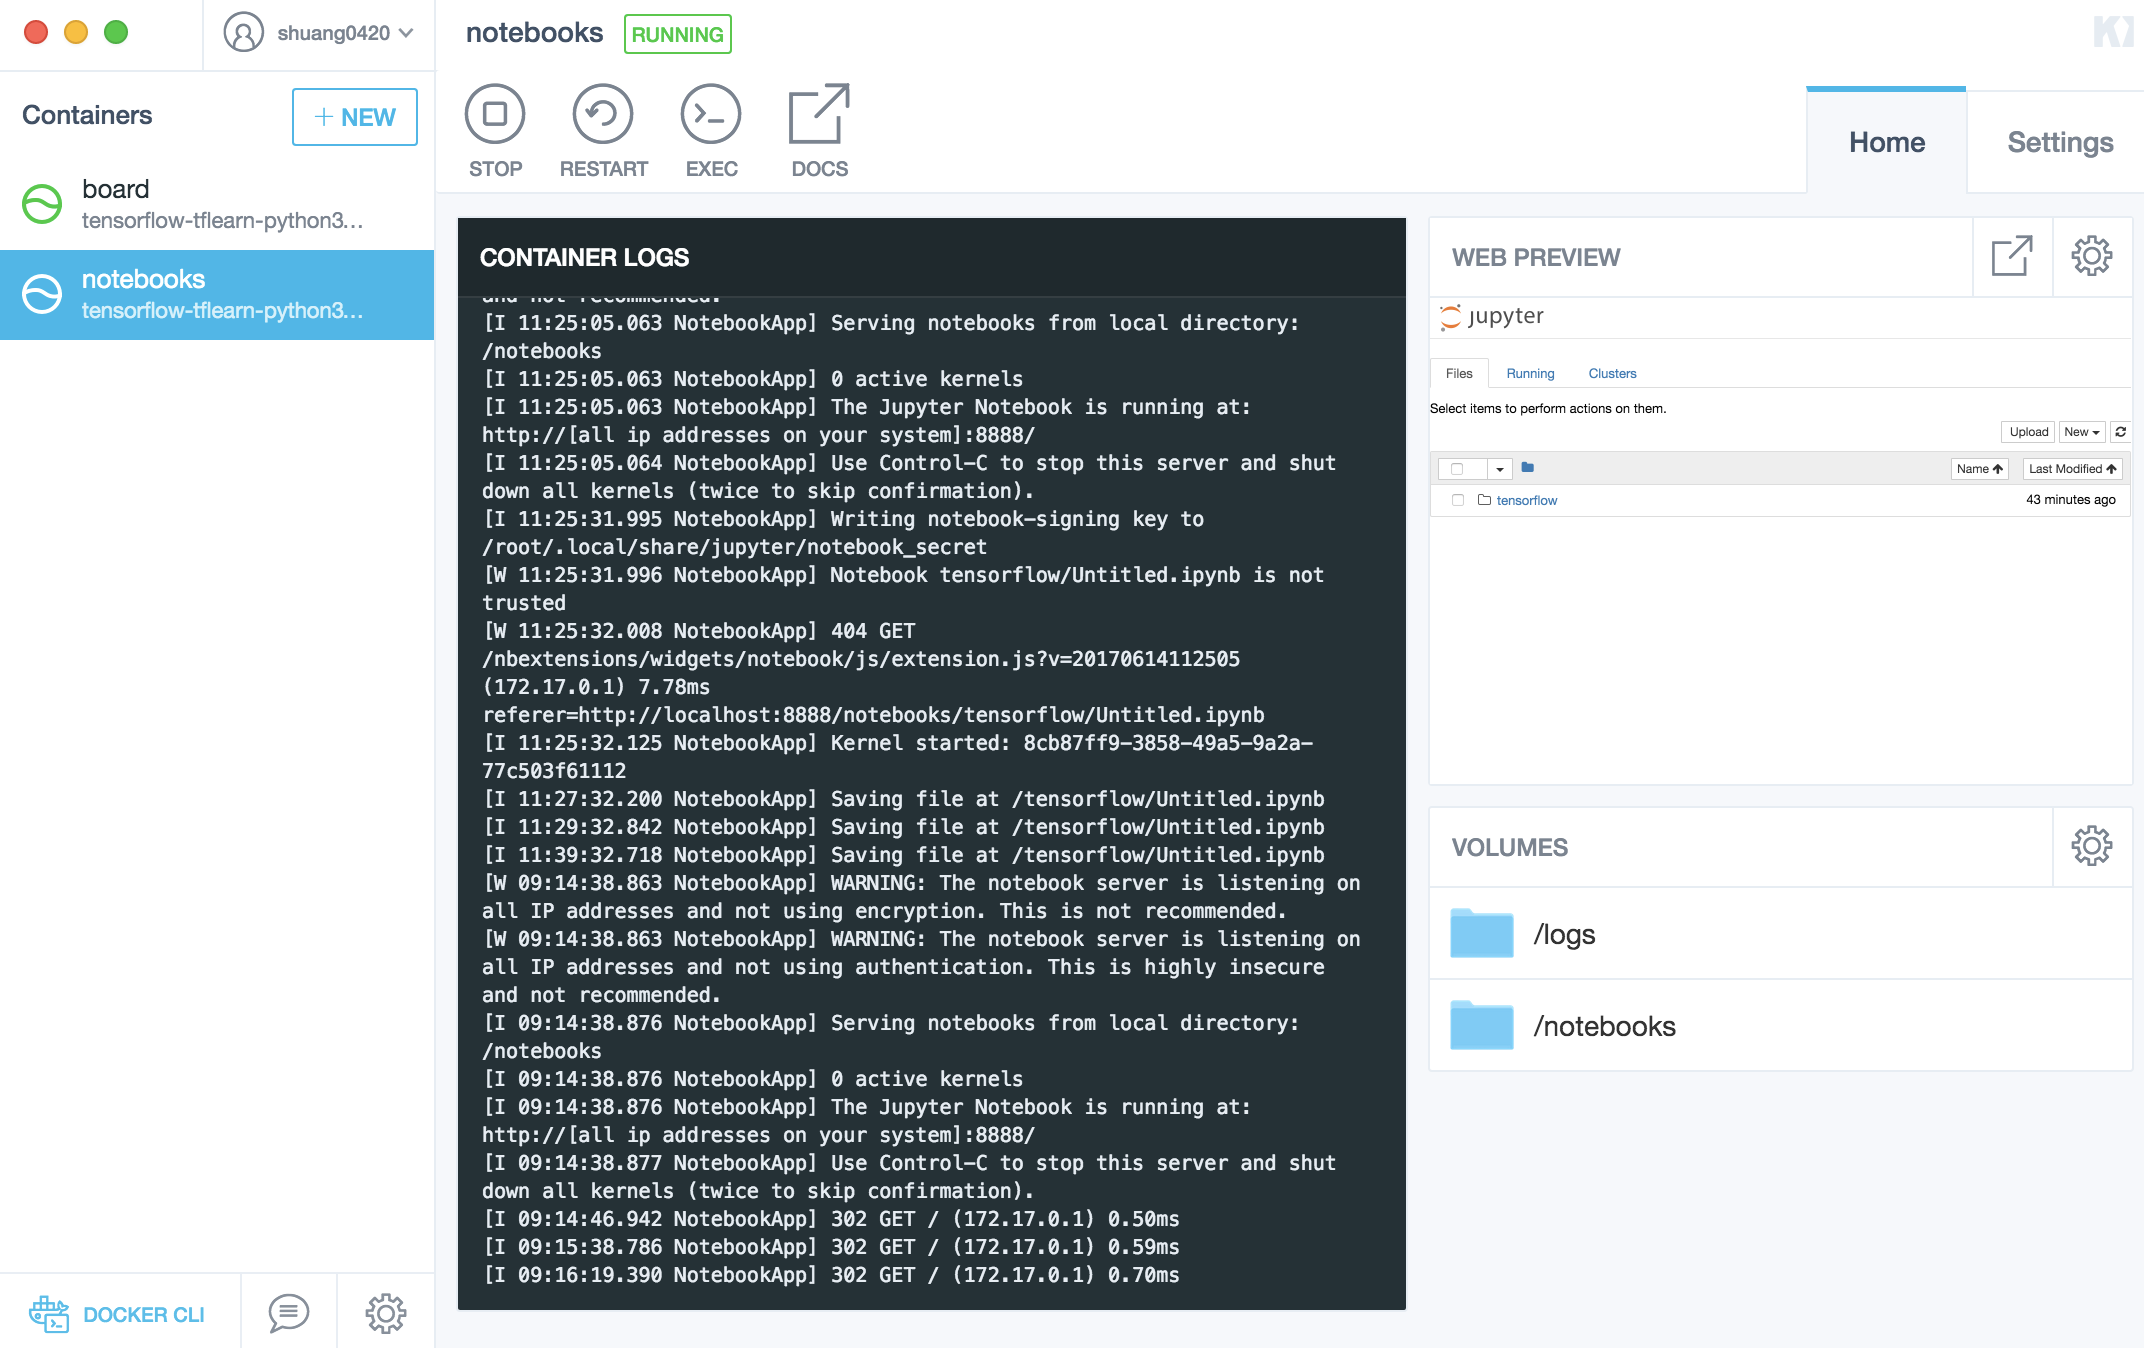
{% imgurl %E4%BD%BF%E7%94%A8%20Docker%20%E5%BF%AB%E9%80%9F%E9%85%8D%E7%BD%AE%E6%B7%B1%E5%BA%A6%E5%AD%A6%E4%B9%A0Tensorflow%E7%8E%AF%E5%A2%83/kitematic.png ful-image alt:kitematic.png %}
$
$ docker rm 4602dc6d7f0b
4602dc6d7f0b
$ docker run --name notebooks -d -v /$(pwd)/notebooks:/notebooks -v /$(pwd)/logs:/logs -p 8888:8888 shuang0420/tensorflow-tflearn-python3-jupyter /run_jupyter.sh --allow-root --NotebookApp.token=''
$ docker run --name board -d -v /$(pwd)/logs:/logs -p 6006:6006 shuang0420/tensorflow-tflearn-python3-jupyter tensorboard --logdir /logs
$

浏览器输入 localhost:8888 打开 jupyter notebook

tflearn.png

浏览器输入 localhost:6006 打开 jupyter notebook
tensorboard.png

当然也可以通过 kitematic 来直接控制 container 啦~~
kitematic.png

push 命令将 image 上传到 docker hub

1
$ docker push shuang0420/tensorflow-tflearn-python3-jupyter:latest

已上传至 docker hub,见 shuang0420/tensorflow-tflearn-python3-jupyter

Usage

Run jupyter and tensorboard

shuang0420/tensorflow-tflearn-python3-jupyter 的使用方法,基本用法和 dash00/tensorflow-python3-jupyter 相同。

1
2
3
$ docker run --name notebooks -d -v /$(pwd):/notebooks -v /$(pwd)/tensorflow/logs:/logs -p 8888:8888 shuang0420/tensorflow-tflearn-python3-jupyter /run_jupyter.sh --allow-root --NotebookApp.token=''
$
$ docker run --name board -d -v /$(pwd)/tensorflow/logs:/logs -p 6006:6006 shuang0420/tensorflow-tflearn-python3-jupyter tensorboard --logdir /logs

/$(pwd):/$(pwd)/tensorflow/logs 是本机目录,它把 container 中的 Jupyter notebooks 以及 logs 匹配到了本机目录,使得 container 和本机可以共享资源。当然首先要保证你的 docker 和 local host 有共享这些目录的权限,在 Docker Preferences 里可以设置。

Monitor

docker stats 来查看 container 的资源使用状况。

1
2
3
CONTAINER CPU % MEM USAGE / LIMIT MEM % NET I/O BLOCK I/O PIDS
cb7ef0a4afc2 0.02% 8.438 MiB / 1.952 GiB 0.42% 219 kB / 1.2 MB 207 MB / 38.3 MB 2
0e6a9a715cbd 0.00% 19.51 MiB / 1.952 GiB 0.98% 189 kB / 285 kB 1.24 GB / 2.23 GB 16

或者进入 docker 用 top 查看。

1
2
3
4
5
6
7
8
9
10
11
12
13
14
Last login: Mon Jun 19 16:11:32 on ttys000
top - 13:38:02 up 1 day, 19:58, 0 users, load average: 0.09, 0.17, 0.11
Tasks: 6 total, 1 running, 5 sleeping, 0 stopped, 0 zombie
%Cpu(s): 0.1 us, 0.1 sy, 0.0 ni, 99.8 id, 0.0 wa, 0.0 hi, 0.0 si, 0.0 st
KiB Mem : 2046768 total, 1923504 free, 66636 used, 56628 buff/cache
KiB Swap: 1048572 total, 683580 free, 364992 used. 1861204 avail Mem
PID USER PR NI VIRT RES SHR S %CPU %MEM TIME+ COMMAND
1 root 20 0 18036 0 0 S 0.0 0.0 0:00.04 bash
7 root 20 0 300448 12820 5268 S 0.0 0.6 0:02.41 jupyter-noteboo
31 root 20 0 18248 1828 1648 S 0.0 0.1 0:00.07 bash
130 root 20 0 591052 688 688 S 0.0 0.0 0:00.78 python3
148 root 20 0 18244 12 12 S 0.0 0.0 0:00.02 bash
170 root 20 0 36644 1252 1032 R 0.0 0.1 0:00.46 top

Memory and CPU

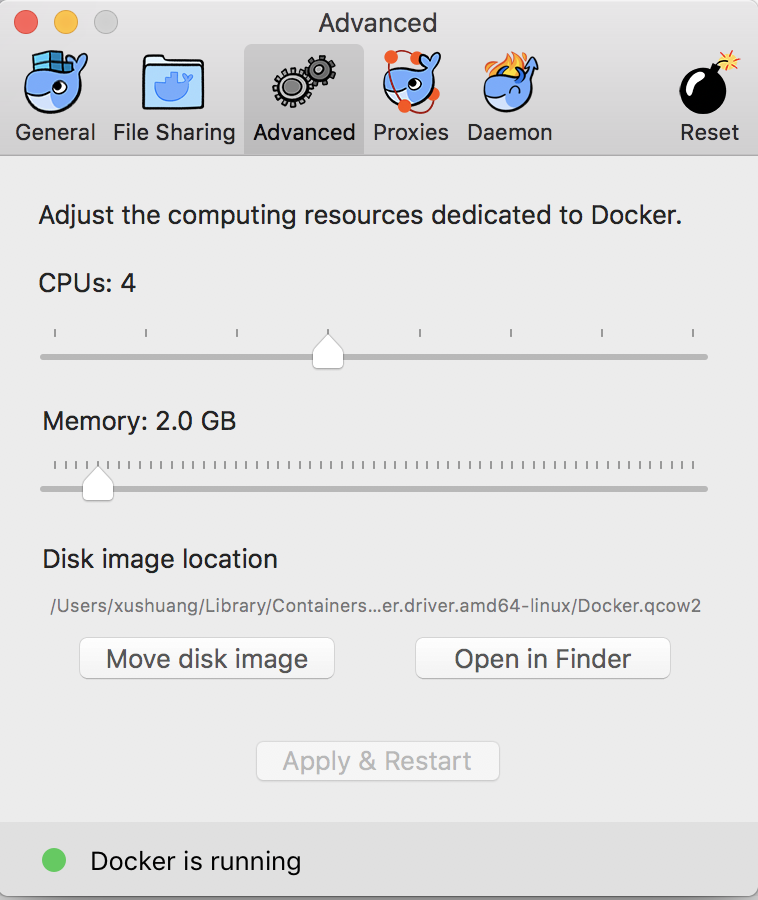
Mac OS 默认给 docker 分配 4 个 CPU 和 2 GB 的内存,因此不管怎么用 docker updatedocker run 命令来调整 container 的 CPU 和 memory,始终不能超过 docker 的限制,想要用更多的 cpu 和 memory 资源,只用在 Docker Preferences -> Advanced 中调整即可。
docker%20preference.png

徐阿衡 wechat
欢迎关注:徐阿衡的微信公众号
客官,打个赏呗~